Category Archives: Boat Finish Restoration

How to Burnish a Sailboat for a Showroom Finish

If you’re looking to show off your sailboat in its best light, give it a burnish finish. This quick and easy process will make your boat shine like new and impress your friends and neighbors. However, if you don’t burnish a sailboat correctly, you’ll end up with a finish that’s dull, chipped, and scratched. In this blog post, we’ll show you how to burnish a sailboat the right way.


Burnishing refers to the process of caring for and maintaining a sailboat’s hull. The hull is the protective outer layer that covers the sailboat’s inner workings, and it is susceptible to damage from sun, salt, and wear. Burnishing helps to keep the hull in good condition by removing dirt, barnacles, and other marine growth. It also helps to protect the hull from further damage and aging.


The process of burnishing can be done by hand or with a machine, and it typically involves polishing the hull with a soft cloth or brush. Some sailboats also have special coating that helps to protect the hull and make it easier to clean. Burnishing is an important part of sailboat maintenance, and it can help to prolong the life of a sailboat. With just a few simple steps, you’ll have a sailboat that looks like it came straight from the showroom!
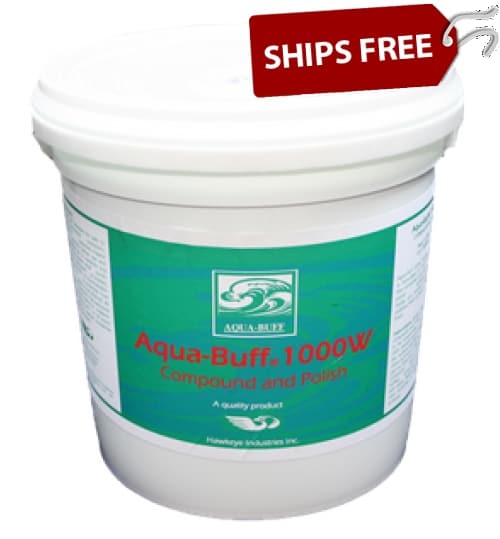
Aqua Buff 1000-W is a polishing compound designed to remove heavy oxidation or sanding scratches from gelcoat. It also cleans variety of surfaces including boat hulls with gelcoat.

Step One: Gather Your Materials

To Burnish a sailboat properly, you’ll need the following materials:
• Burnishing Compound
• Burnishing Pads
• High-Speed Polisher

Step Two: Apply the Compound

Once you have all your materials, it’s time to start burnishing! Begin by applying a generous amount of burnishing compound to the entire surface of the boat. Be sure to work in small sections so that the compound doesn’t dry out before you have a chance to work it in. Once the entire surface is covered, let the compound sit for about 15 minutes.

Step Three: Polish the Surface

After the compound has had a chance to set, it’s time to start polishing! Begin by attaching a burnishing pad to your polisher and turning it on to high speed. Slowly move the polisher back and forth across the surface of the boat until the entire area is evenly polished. You should see a noticeable difference in the finish after just a few minutes! Let the area dry for about an hour before moving on to step four.

Step Four: Wax the Surface

The last step in Burnishing your sailboat is to apply a layer of wax. This will help protect the newly polished surface from dirt, grime, and UV rays. Simply apply a generous amount of wax to another clean Burnishing pad and polish it into the surface of the boat. Let the wax dry for about 15 minutes before buffing it off with a soft cloth. And that’s it! You’re now ready to enjoy your showroom-quality finish.
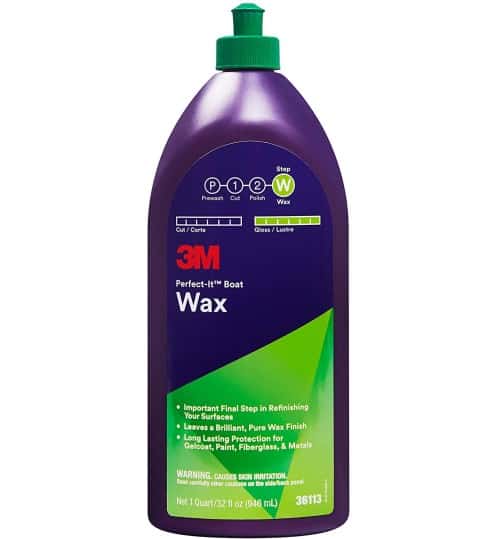
3M™ Perfect-It™ Boat Wax is the final, brilliant step in achieving a truly professional marine finish. Safe for gelcoat, paint, fiberglass and metal.

So there you have it – the basics of burnishing a sailboat for a showroom finish. It’s not as hard as it may seem, but it does take some time and effort to get that perfect shine. By following these simple steps, you’ll be able to buff your boat until she gleams like new. Have fun out there on the open water!

The Different Types of Boat Paint

In this article, we will briefly describe some of the different types of boat paint that can be used to repair, restore, protect, and make your boat looks its best.

Topside boat paint is a type of paint you apply above the waterline of a boat. This can include the sides of the hull, deck, as well as interior. Marine topside paints usually consist of one-part polyurethane, two-part polyurethane, and alkyd marine enamel. There are also buffable, two-part acrylic urethanes. Due to the sun’s rays, your boat is vulnerable to UV damage so coating your upper hull and deck with good topside paint can go a long way to protecting your boat.

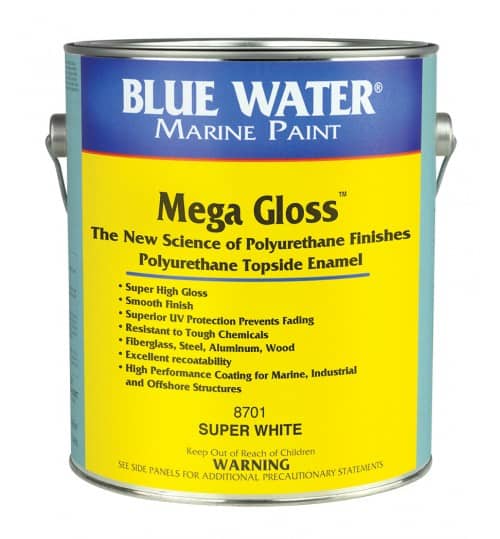
Blue Water Marine Topside Paints are superior in quality, higher in value and typically, priced better than store brands


Aluminum boat paint can be used for many purposes including to camouflage, decorate, refurbish, or restore and touch up aluminum boat surfaces. Paint that is safe for aluminum and can be applied without a primer and can be used below or above the waterline. If you don’t take care of your aluminum boat, it will eventually start to show its age. One way to keep your aluminum boat looking new is to touch up the paint when it starts to fade or chip. Touching up the paint on your aluminum boat is a relatively simple process.

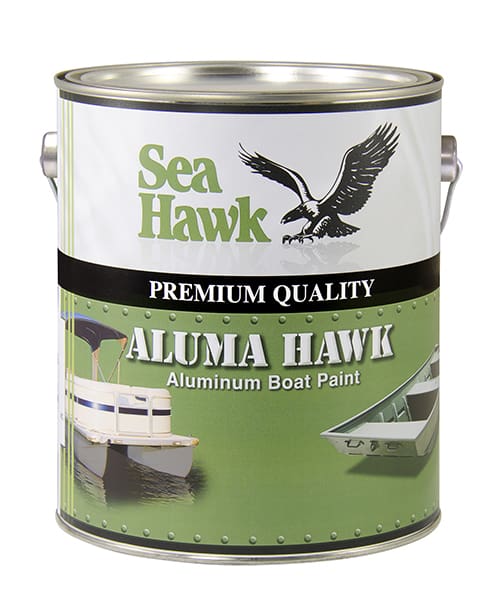
Aluma Hawk is a high-solids, quick drying corrosion inhibiting coating designed for use on aluminum. It requires no primer and can be applied below or above the waterline with no antifouling characteristics; it also contains dual purpose phenolic resin which makes it possible to use as both primer (for metals) AND topcoat if needed!

Aluma Hawk Paint
Aluma Hawk is a fast drying, high-solids, corrosion-inhibiting coating designed for use on aluminum with no need for a primer.

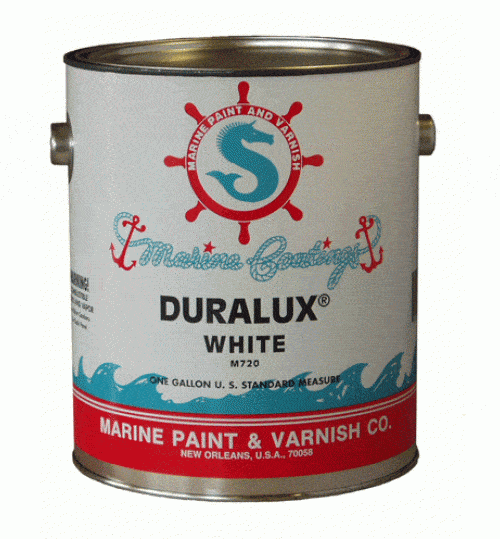
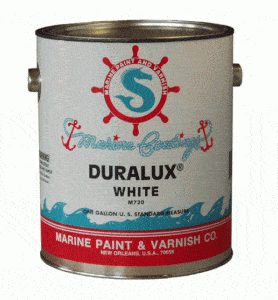
Duralux Paint is available in a variety of colors to satisfy the most discriminating boat owner’s eye, Duralux offers a complete line of products including enamels and spar varnish. Duralux aluminum boat paint is a solid choice for those who want great protection for their aluminum boat.

Duralux Aluminum Boat Green


Fiberglass coatings usually consist of gelcoat, gelcoat putties, resins, restoration solutions, repair kits, and tools/materials. Gel coats are often used to touch up or repair a boat’s finish. They have a much shorter shelf life and can be a lot more difficult to apply than paint so the manufacturer’s instructions must be carefully followed to ensure a successful result.

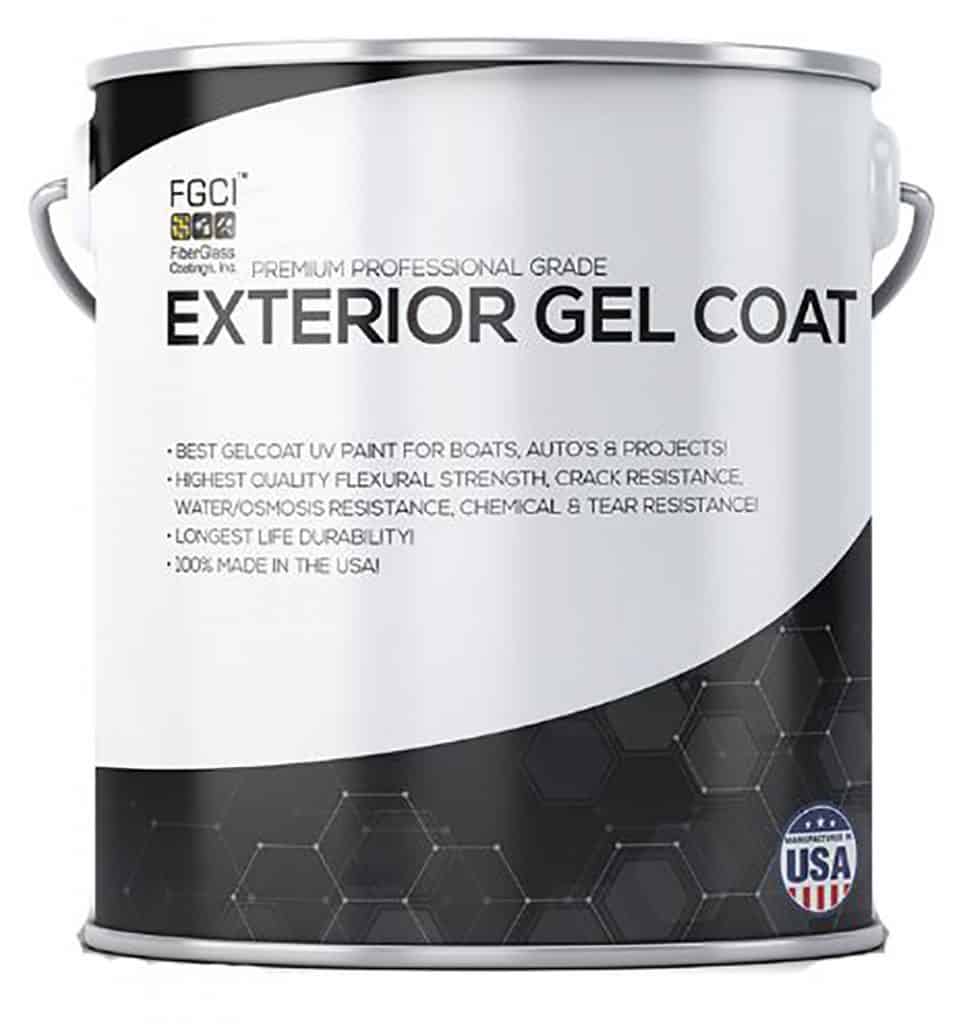
Gelcoat can be used to patch existing gel coat, fiberglass repairs, and new construction and projects.


Wood boat paint typically includes traditional types of oil-based finishes, as two-part paints tend to be less flexible. Because wood can flex and swell, especially along seams, expensive finishes will not last any longer than traditional stain or paint. Teak can be used to prevent fading on a boat’s wood finish. If left untreated, it will often fade which leads to the need to clean or treat the wood so it is not susceptible to rot, mildew, and discoloration.

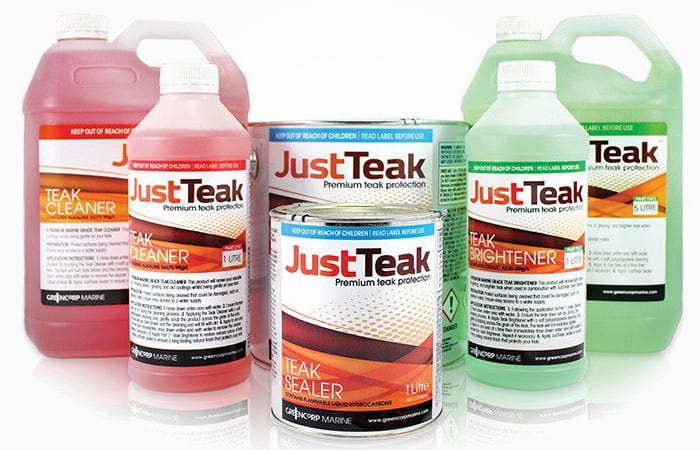
Teak wood cleaner
Just Teak is a simple solution to clean, brighten & protect your teak.


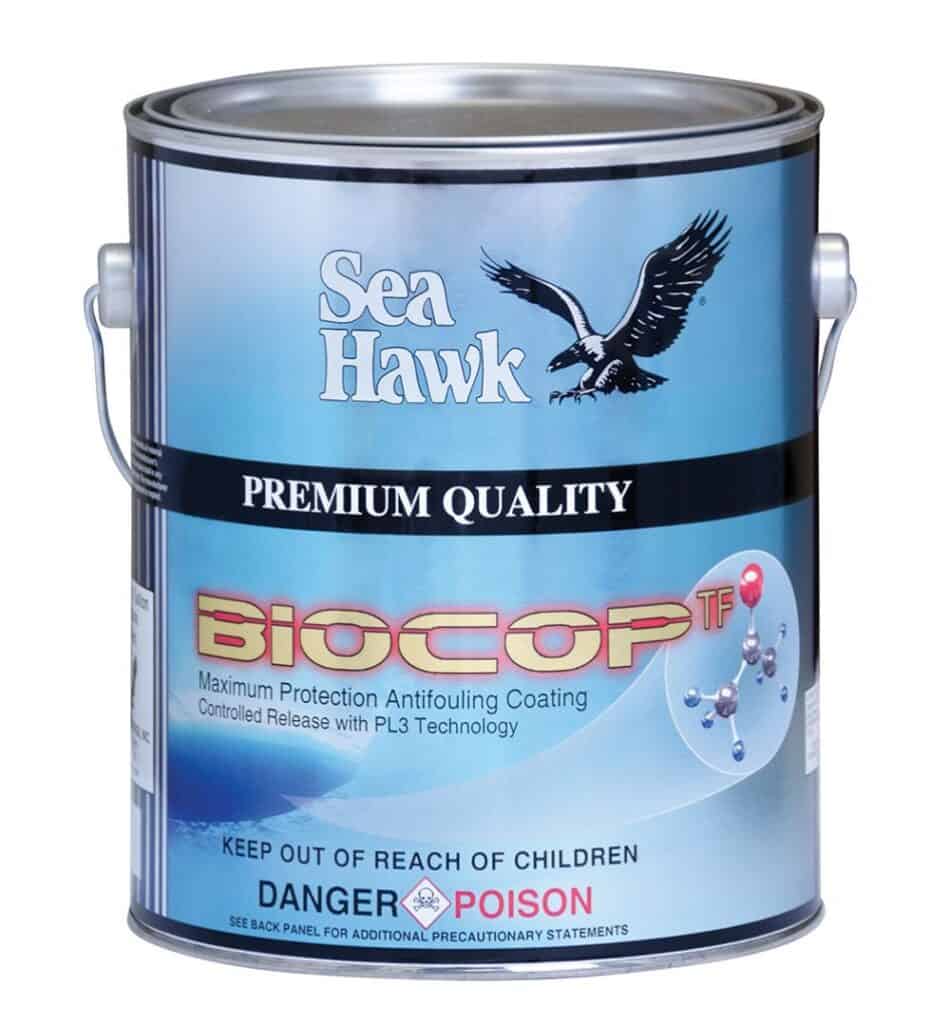
Bottom boat paint is antifouling paint or coating designed to diminish weeds, barnacles, and other aquatic organisms that can attach below the waterline of a boat and cause damage. Bottom paint includes ablative bottom paint, hard boat bottom paint, aluminum safe bottom paint, primers for bottom paint, and boat bottom paint remover.

Biocop bottom paint uses the newest biocide technology which is safe for the environment.

If you need assistance selecting the right marine boat paint for your next project see Bottom Paint Store’s how-to articles or call our technical support department Monday-Friday from 8:30-5:00 pm EST 888-505-2313.

Testing for Compatibility of Topside Paint with Awlgrip Topcoat

SURFACE PREPARATION
COATINGS COMPATIBILITY & ADHESION
TESTS (ABOVE WATER ONLY)


Test One: Cross Hatch Adhesion (See diagram above)

  1. Select test area(s) on the surface to be painted. Thoroughly clean,
    de-wax and degrease this area.
  2. With a sharp blade, cut 6 lines vertically and 6 lines horizontally to give
    a box of 25 squares. The cuts must be deep enough to reach the
    substrate. On thick fairing systems this test may have to be done to
    several different layers.
  3. Apply 3M #610, #895 or #898 3M Scotch Brand Filament Tape (or
    similar type of packaging tape) over the scribed area, making certain
    that the tape is tightly adhered to the test surface. Do not use
    masking tape.
  4. With an abrupt yank, pull the tape back parallel to the surface. Pulling
    the tape straight up will give no test at all.
  5. Examine the test surface. If any square of old coating in the scribed
    area is removed, the adhesion has failed. All the failed layers must
    be removed.

Test Two: Solvent Resistance

  1. Saturate a cotton ball or small wad of cloth with one of the
    Awlgrip Topcoat or Primer Reducers (T0003 or T0006).
  2. Tape the reducer-saturated ball to the scribed area surface for
    30 minutes.
  3. After 30 minutes remove the cotton ball. If the reducer has dissolved
    or severely softened the old coating, the coating is incompatible and
    must be removed. If the scribed area has remained intact, allow a
    15 minute recovery period and repeat all steps in Test One again.
  4. If any square areas are removed, all the failed layers must be
    removed.

Test Three: Coating Compatibility
If the old coating is still intact after Tests One and Two, perform
Test Three.

  1. Lightly sand a small test area with 220 grit paper. Clean the sanded
    areas thoroughly with Awlgrip Wipe-Down Solvent (NA/AP:
    Awlprep T0008 ; EU: Surface Cleaner T0340) and using clean cloths.
  2. Paint a small patch of the surface with Awlgrip Topcoat. Do not use
    masking tape on the edges of the test application as the paint edges
    created by the tape will ‘print through’ and be visible in the finish.

Thinning Gelcoat and Using PVA

Gelcoat does not fully cure without first supplementing it with a surfacing agent or wax additive sanding aid. Gelcoat may be thinned for use in a Portable Preval Sprayer with styrene monomer. You can spray it with polyvinyl alcohol (PVA) before gelcoat reaches its gel stage (5-10 min.), or add 1oz per quart of a wax additive sanding aid.

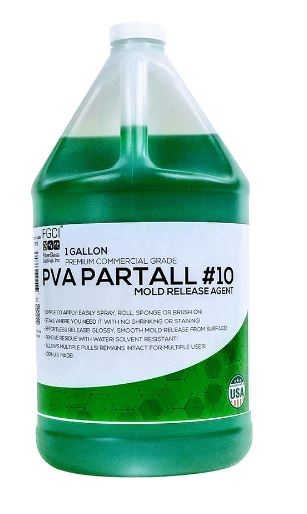
PVA or Partall Film #10 is a release agent that helps with removing parts from a mold or can be used as a surfacing agent when using gelcoat without a wax additive (sanding aid).

PVA is soluble in water making it easy to wash off. Applying can be achieved by spraying or wiping the green liquid on with a sponge. It will foam slightly but dry to a clear, glossy shine. It can take 15-30 minutes depending on temperature.

For spraying gelcoat our FGCI brand does not recommend thinning.

Generally, you should not add more than 10% Styrene by volume. Patch Booster is an additive that will thin out gelcoat and not affect colors. Follow manufacturers instructions as added Mekp may be needed.

Another thinning alternative is the Duratec High Gloss Additive. This is used with gelcoat for many reasons. Mixed at a 50/50 ratio this will produce a high gloss finish and will serve as a thinner for your gelcoat, that is why this is commonly used when spraying gelcoat. In addition, you’ll omit any additional sanding aid. After waiting a full 24 hours you can buff when cured, for a hi-gloss use 600 or higher grit paper and buff with Aqua Buff 2000 compound. Follow the manufacturer’s technical data sheet as an extra hardener may be needed. Some customers use Styrene for thinning but the manufacturer warns it can affect the gelcoat colors although this is the most cost-effective option and doesn’t have the added wax.

What to Use on the Deck of My Boat?

Over the lifetime of any boat there will come a time when the deck needs to be renewed. You have a choice of non-skid additives, or paints that already contain a nonskid compound.  A non skid boat deck helps protect the surface as well as the occupants.

When looking for a non-skid surface you have many options. If your boat floor is currently gelcoat, you can re-gelcoat the surface with or without a non-skid additive. More information about gelcoat application can be found here. Gelcoat is more durable than paint and once a gelcoat surface is painted gelcoat will not adhere.

If paint is desired, non-skid can be added to our marine paints by Duralux and Awlgrip. Often an exact match can be found to your hull paint color. Find more topside paint options available and detailed instructions on adding non skid found in our how to section.

Customers painting the floor of a jon boat, frequently use the Aluma Hawk aluminum paint with a non skid additive. This paint serves as a paint and primer in one for your aluminum surface.

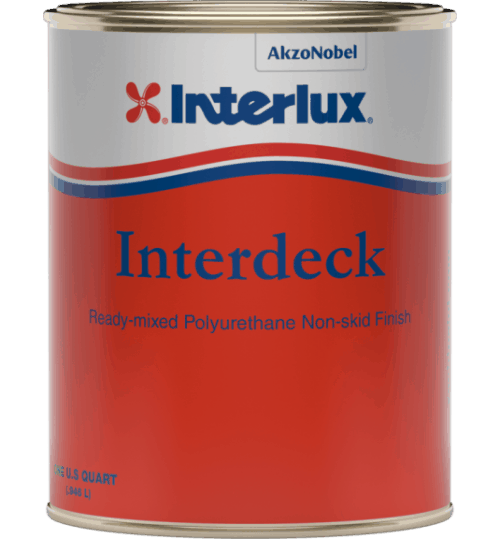
Interdeck boat deck paint is a non-skid deck paint by Interlux and offers an excellent slip resistant finish. It contains a fine aggregate and will apply easily on substrates. Its low sheen finish prevents dazzling that can be reflected by sunlight off decks. Interdeck is also easy to apply and available in numerous colors. The tough polyurethane resin protects decks against everyday wear and tear.

Depending on your paint choices, follow the manufacturers application instructions whether applying to aluminum, fiberglass, or wood to ensure best adhesion and slip resistance.

For cleaning the teak on your boat deck, JustTeak™ is a marine-grade teak cleaning system is designed to rejuvenate your teak quickly and easily. JustTeak™ will clean, brighten, and once sealed protect your teak decking. We have an application instructions video How to clean and protect the teak on your boat.

How To Mark Your Waterline for Bottom Paint

The waterline can also refer to anyline on a ship’s hull that is parallel to the water’s surface when the ship is afloat in a normal position. There are many reasons a waterline needs to be marked, it is a new vessel, the old paint has been blasted off for a new finish, or you’ve loaded it up with more stuff the original marking is off. Marking the waterline is often met with dread and getting the correct line for your bottom paint will provide stunning results. Getting it wrong, especially when paired with a boot stripe, will stand out like a sore thumb.

If your boat is new, the waterline should be marked on the designer’s drawing, if that is available. If not, you can take the measurements from a similar boat. If the boat has been in the water, even a few days, there may be some slight staining along the waterline (or just float the boat) that can be marked with a grease marker (best if it is full with fuel). Others have advised to throw sawdust in the water around the boat. Haul the boat and see where the sawdust has stuck to the wet hull.

Fine-line masking tape is ideal for this because it has some stretch and conforms very well to hull shape, especially if the hull has a lot of reverse turns. Don’t press the tape too firmly yet – you may need to peel it back for small adjustments. Once you’re happy with the whole line, press the tape firmly against the hull. Since the boat is already level, all you have to do for the second side is to set the level at the correct height and mark the stern with a piece of tape or transpose the wax crayon mark.

When the boat is aligned athwartships, set up the laser tripod, the exact spot is not critical providing the laser beam can see the whole side of the boat (if you can see it, so can the laser beam). Turn on the laser and adjust the height of the beam until it touches the marks you made at the bow and the stern. If it touches the mark on the bow but the stern is too high, lower the jack-stands at the stern or raise those at the bow—vice versa if the stern is low. Double-check the spirit level in the cockpit to make sure you’re not tilting the boat.

How to Paint a Boot Stripe

What is a Boot Stripe?

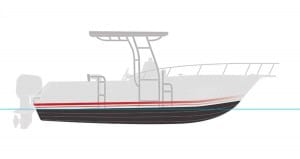
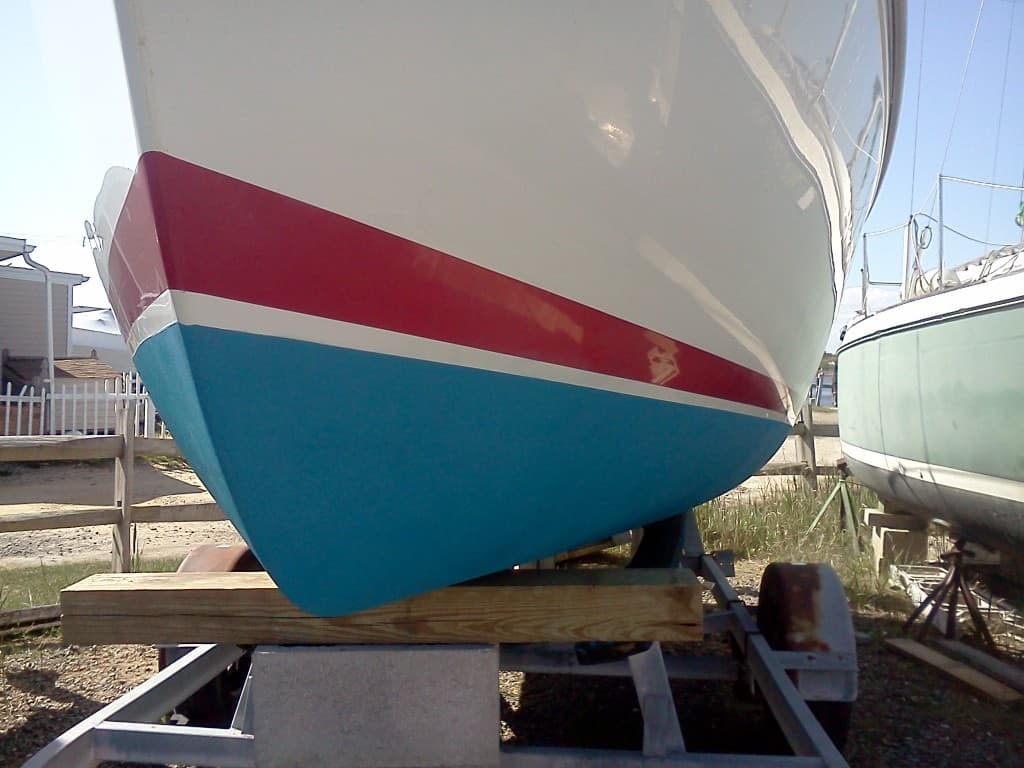
The Boot Stripe is a narrow stripe that runs the length of the boat and is usually positioned a few inches above the waterline. The stripe provides an aesthetic touch and creates an optical illusion that makes the boat appear to be longer. It also gives the boat a nice “finished” appearance that many boaters take pride in. Boot stripes also define the separation between anti-fouling paint (below) and the topside paint (above). Vinyl boot stripe tape is available in different widths, colors, and designs, but unless the boat has a flat, slab side this will make the boat appear to sag or squat in the water. Painting the boot stripe on the hull allows the width to change with the geometry of the boat and give the finished stripe a uniform look. Repainting an existing Boot Stripe will be easier than starting from scratch since you won’t have to mark and score the stripe.

Find and mark the Boot Stripe. The boot stripes of many fiberglass hulls are cast into the hull from the mold by the manufacturer. They can only be removed if you sand down to the fiberglass.

If there is no stripe on your hull you will need to mark the waterline on your boat and transcribe it up to the desired height of your stripe. This can be done by applying successive layers of masking tape along the waterline curve. There are other numerous methods worth investigating online. Also, consult a professional and ask them questions about your specific boat.

Mask off the stripe with tape and get within 1/32nd in. to the edges of the old stripe. This will allow you to sand to the very edge of the old stripe, and avoid damaging the surrounding gel coat.

bootstripeinstallDe-wax the stripe area using a de-waxing solution and a rag.
Sand only the stripe area with 220 grit sandpaper. Once sanding is complete, remove the masking tape and wipe the area with acetone. This will remove any remaining adhesive and sanding remnants. Sacrificing the first mask will contribute to a sharper finish. It is possible that the first application of tape can transfer sanding residue to the paint and result in a poor finish. Mask twice and you will only have to paint once! Be sure to take your time with the second masking. Remember: If the stripe doesn’t look good in tape, it will look even worse once painted. Now you’re ready to paint!

What type of paint should I use?

There are many different varieties of topside paint suitable for painting a boot stripe, but we have narrowed it down to just a few options for you.

Good: Duralux Marine Enamel – Easy to use and economically viable. When applying this marine enamel to fiberglass, no primer is needed. Simply wipe the surface with acetone before and after sanding, then apply your paint. For aluminum, apply one coat of primer and follow with 2 coats of paint. This high gloss enamel will create a bright and colorful boot stripe on any vessel.

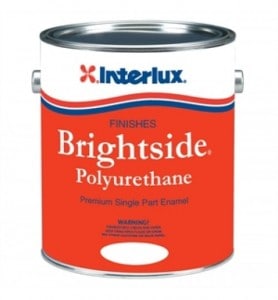
interlux-brightside-polyurethane-28238-500x539Better: Interlux Brightside or Blue Water Mega Gloss– These are a one part Polyurethane with a crisp, high gloss appearance. More durable than regular enamels, but just as easy to apply! If you are applying Brightside or Mega Gloss to fiberglass, make sure the surface is clean and in good condition.  Application of Mega Gloss Water: blast surface to remove all loose paint, dirt, oils and grease. Abrade with 240 grit dry sandpaper or equivalent. Solvent wipe down to remove all sanding residue. Prime with Mega Gloss Primer for best results.  For Brightside, remove wax and other contaminants using Fiberglass Solvent Wash 202 and then sand with 220-320 grit paper. Apply Pre-Kote. Brightside offers excellent flow and gloss retention especially for painting a boot stripe.


Removing Stains from Gelcoat

A gelcoat surface is a very smooth, mirror-like finish when it is new. As gelcoat ages, it becomes porous which means the more easily it stains, the worse it looks and the harder it is to clean. Most all gelcoat can be restored, providing it is not completely worn through. Exhaust stains, like diesel, can develop on the surface of the Gel Coat. These stains can set in on the wax surface of the gel coat but the right cleaner can remove them. If the stain goes deeper, a bit of elbow grease will be needed.

Clean and inspect the surface with a wash with a mild cleaner like 3M’s boat soap or some alternative stronger cleaners if needed. After cleaning, dry and inspect surface for needs to be addressed: scratches, dings, cracking and crazing and to fix these flaws before rubbing out the gelcoat and restoring its shine. See the fiberglass/gelcoat repair section for options and the West System Video for “how to” instruction.

Apply a fiberglass stain remover, like 3M Fiberglass Restorer and Wax , Mothers Marine Black Streak Remover, or 3M Marine Cleaner and Wax to the stained gelcoat area with a clean rag. The black/gray stains are the result of soot being deposited on your hull. It can happen when wet exhaust systems mix the exhaust gases with seawater and discharge those gases or dry exhaust systems discharging the soot directly into the atmosphere and it lands on your boat.

These liquid one-step products that combine a polish or compound with a wax remove oxidation, and protect the gelcoat in one step.

Wait 10-15 minutes. If the stain is simply laying on the surface of the Gel Coat, the stain will begin to loosen; rinse and inspect the results.

If the stain is lifting, repeat. If not, then something stronger like a more abrasive compound with a polisher may be needed; in that case a wax will be needed to restore the shine. Each time compound products are used, some of the gelcoat is removed. Use caution to use the least aggressive product that will get the job done. Frequently all that may be needed is to apply a protective coating of wax, such as 3M Ultra Performance WaxScotchgard Marine Wax, or Mothers Marine Synthetic Wax to help keep that shine.

For more gelcoat restoration tips see our how to Maintain and Restore Gelcoat link and Aqua Buff information.

Awlgrip Paint, the Best Topside Boat Paint

Awlgip Marine PaintsAwlgrip Topcoat, also referred to as awlgrip paint,  is a polyester based high gloss polyurethane topcoat giving long lasting gloss and color retention. It is considered the among the best Topside Paints in the marine industry. AwlGrip Topcoat  may be applied by brush/roller or spray. For application above the waterline only. See Awlgrip Application Guidelines

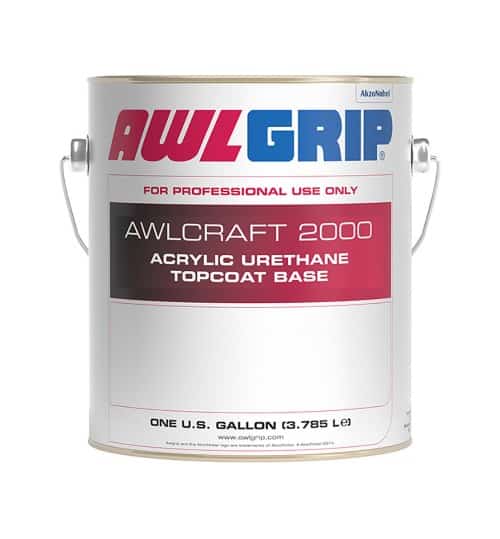
Awlcraft 2000 is an Awlgrip paint that is a 3 component, premium polyurethane finish that must be applied by spray only, and delivers a high gloss finish in a wide range of colors with enhanced color and gloss retention.  Awlcraft 2000 comes in a number of unique color options.  You will need to choose the appropriate Converter and a Reducer. 

awlgrip 545 primerThe most common practice for the do it yourselfer is priming the boat with Awlgrip 545 epoxy primer. This is a 2 part primer, so you will need the base (either white or grey) and the converter. Awlgrip also recommends a reducer. The links to the converter and reducer can be found on the base primer product page.

Mixing and Reduction:
This is a two part system. You must order the base primer in either gray or white along with the D3001 Converter in the appropriate size. The mix ratio is 1:1 so if you purchase 1 quart of primer you also need 1 quart of converter for a total of 2 quarts. Additionally you need to purchase the appropriate reducer (spray or brush) for spraying reduce up to 25% with T0006 and for brushing reduce up to 10% with T0031.

Theoretical Coverage: 497 Sq feet/gallon at one mil dry (25 microns) 165-248 Sq. Feet at recommended dry film thickness. Calculated based on a theoretical transfer efficiency of 100%.

Then you will choose your base color of Awlgrip Topside paint, the converter and reducer. The reducer and converter change depending if you are spraying or brush/rolling.

Mixing and Reduction

Spray: Mix by volume one part AWLGRIP Topcoat Base Component (Color) with one part AWL-CAT #2 G3010 spray converter to a a smooth homogenous mixture. Reduce up to 25% with the spray reducer(s) appropriate for conditions. Overall mixture is 1:1:1/2 volume. Example: 8oz Base, 8oz G3010, 4oz Reducer. 25% reduction is a standard mix. Clear coats. metallic colors, and painting in high temperature conditions may require additional reduction. 40% reduction is the maximum recommendation.

Brush/Roller: Mix by volume two parts AWLGRIP Topcoat Base Component with one part AWL-CAT #3/H3002 Brushing Converter until one smooth, homogenous mixture is obtained. Reduce 25% to 33% with T0031. Overall mix is 2:1:3/4-1 by volume. Example: 8 oz. color base component, 4 oz. H3002, 3-4 oz. T0031. 

Theoretical Coverage:
Brush/Roller Application: 700-725 Sq. Feet at 1 mil (25 Microns) dry: 285 Sq. Feet at recommended dry film thickness.
Recommended Wet Film Thickness: 4.5-6 mils (112.5-150 Microns), Total of 2 Coats.
Recommended Dry Film Thickness: 2-3 mils (50-75 Microns), Total of 2 Coats.

Spray Application: 530 Sq. Feet at 1 mil (25 microns) dry film thickness; 210 SQ. Feet at recommended dry film thickness.
Recommended Wet Film Thickness: 6-9 mils (150-225 Microns), Total of 2-3 Coats.
Recommended Dry Film Thickness: 2-3 mils (50-75 Microns), Total of 2-3 Coats.

You can view the links provided above to see more information about the products, mix ratios, surface prep and auxiliary products.

Awlgrip Color Chart