As the end of boating season approaches, it’s time to say goodbye to those sunny days on the water and start thinking about where your boat will hibernate for the winter. Preparing your vessel for storage can seem like a chore, but with a few handy tips—especially when it comes to bottom paint—you can help ensure a smooth transition back to the water next season. Plus, your boat will thank you for giving it a little love before its long winter’s nap!
Step 1: Clean Like You Mean It
Imagine coming out of a long winter nap only to find your face covered in mud and algae. That’s how your boat feels right now! A clean hull is a happy hull, so start by giving it a thorough wash to remove any remaining gunk, barnacles, or algae. Skip this step, and you’ll have a mini-reef growing under there by spring.
Once you’ve scrubbed away the season’s grime, it’s time for a quick inspection. Check for scratches, chips, or damage that might need repairs before applying any fresh paint. Remember, like any good friend, your hull needs you to notice the little things—even those pesky scratches that seem to appear out of nowhere.
Step 2: Choosing the Right Bottom Paint
When it comes to bottom paint, it’s not a one-size-fits-all situation. Different types of paint serve different purposes, so pick one that best matches your boat’s needs and how often you use it. If your boat is planning on a career as a freshwater weekend warrior, a basic antifouling paint should do the trick. For saltwater sailors or frequent floaters, you might need a heavy-duty copper-based paint to keep those critters at bay.

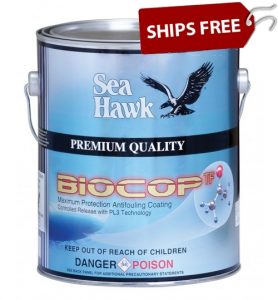
Developed as an alternative to tin-based antifouling paints to protect against the harshest marine environments. Using the newest biocide technology, a revolutionary polymer binder system produces an engineered biocide release that leaves no harmful effects on the environment.
For boaters who pride themselves on being eco-friendly (or just don’t want to turn their hull into a toxic waste site), there are environmentally friendly bottom paints, too. These help prevent growth without releasing as many harmful chemicals. Your boat and the fish will thank you!
Step 3: Apply with Care
Before you start slapping paint on like a Jackson Pollock, keep in mind that proper application is key. Apply the bottom paint according to the manufacturer’s recommendations (even if you’re tempted to cut corners). Use the right type of roller, or if you’re feeling fancy, a sprayer. Just try not to get paint everywhere—especially on yourself. While a “marine blue” hue is trendy on your hull, it’s less appealing on your jeans.
Step 4: A Final Check Before Storage
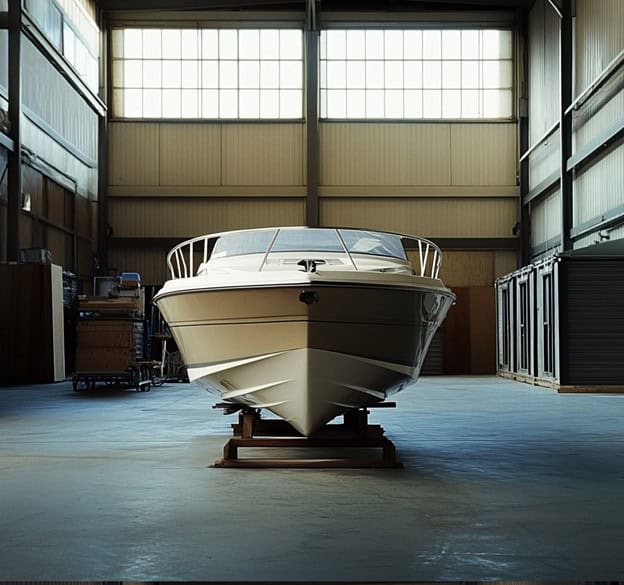
Once the paint’s applied and dry, do one last walk-around. Check that all hardware is secure, and make sure your boat is well-supported on blocks or stands. Storing your boat improperly can lead to hull damage, and no one wants to kick off next season with a repair bill.
Step 5: Dream of Next Season
Congratulations! Your boat is now ready to rest and recharge for next year’s adventures. So, tuck it in, wish it goodnight, and start dreaming of next season’s adventures. By following these tips, you’re ensuring a quicker, easier start when it’s time to hit the water again.
Remember, preparation now means less hassle later—because who wants to spend the first boating weekend of the season scraping barnacles? Now that you’ve shown your boat some TLC, it’ll be ready to get back out there with you when the new boating season returns.

