
In this guide we’ll delve into the step-by-step process of applying polyurethane foam, a versatile material widely used for insulation, waterproofing, and structural support in various industries. We’ll walk you through everything from prepping your workspace to achieving a satisfyingly smooth finish. Whether you’re a DIY enthusiast or a professional contractor, this guide will assist you with the knowledge and techniques to use polyurethane foam in your projects.
Materials Needed:
- Polyurethane foam kit (includes base and activator)
- Mixing container
- Stirring stick or mechanical mixer
- Protective gear (gloves, goggles, respirator)
- Clean cloth
- Scale (if required)
Step 1: Preparation
Before you begin, ensure that the workspace is well-ventilated and free from any dust or debris. Clean all surfaces that will come into contact with the foam. Wear appropriate protective gear to prevent skin and eye contact with the materials.
Step 2: Measuring Measure the components accurately. For most foam applications, a 1:1 ratio by volume of base and activator is required, but always check the manufacturer’s instructions. For precise projects, measuring by weight may be necessary, so use a scale to ensure accuracy.
Step 3: Mixing In a clean container, combine the base and activator. Use a stirring stick to mix thoroughly for about 3-5 minutes. If available, a mechanical mixer can be used at a low to medium speed to ensure a consistent mix without introducing too much air into the foam.
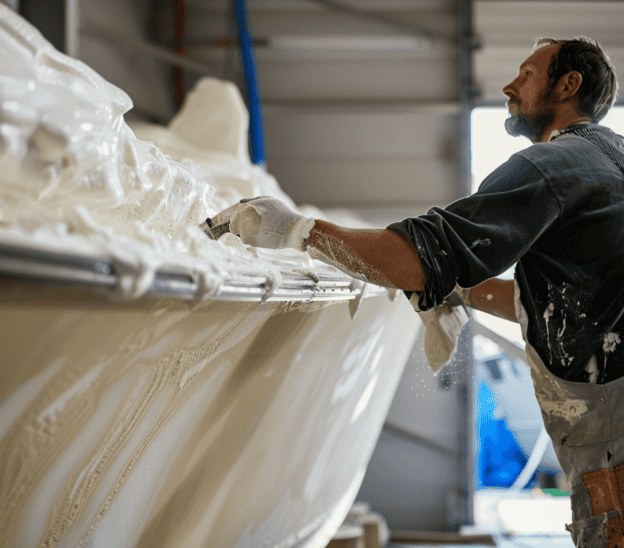
Step 4: Application Immediately after mixing, pour the foam into the prepared area. Be aware that the foam will start to expand and cure quickly. Pour from a corner or one side to the other to minimize air pockets and ensure even coverage.
Step 5: Curing Allow the foam to expand and cure. The time needed can vary depending on the foam density and environmental conditions like temperature and humidity. Typically, the foam becomes tack-free in several minutes and fully cured within hours. Avoid disturbing the foam during curing.
Step 6: Clean-up After application, clean your tools and mixing containers with acetone or another suitable solvent before the foam cures. Cured foam is very difficult to remove.
Step 7: Finishing Touches Once cured, inspect the foam for any voids or uneven areas. Additional foam can be applied to fill gaps. Once fully cured, the foam can be cut, sanded, or painted as required.

Safety Tips:
- Always work in a well-ventilated area to avoid inhalation of fumes.
- Wear protective clothing, including gloves and goggles, to avoid skin and eye contact.
- Read and follow all safety instructions provided with your foam kit.
This method is ideal for a range of applications from marine flotation to insulation projects. Each kit may have specific instructions, especially regarding the ratio of components and curing times, so referring to the product’s manual is critical.
For detailed product information and specific usage instructions, you can check the guide available on the Bottom Paint Store website.